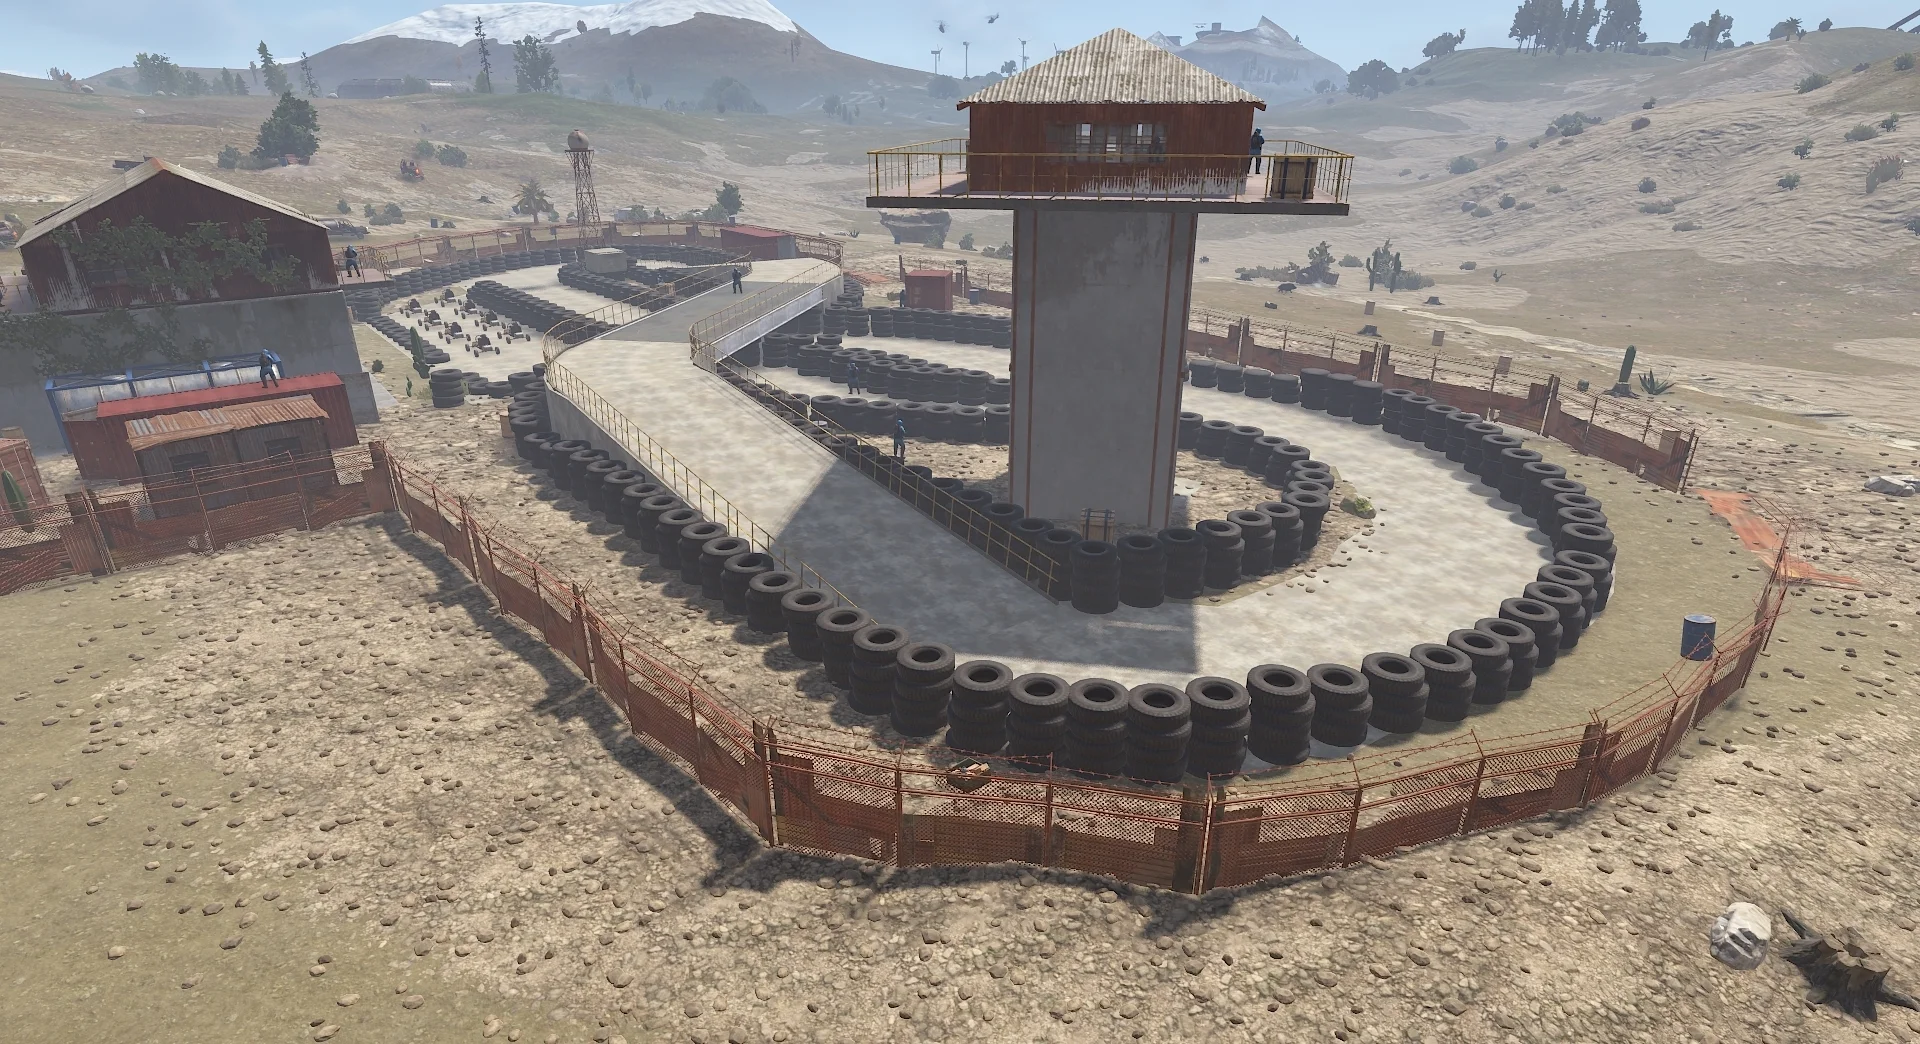
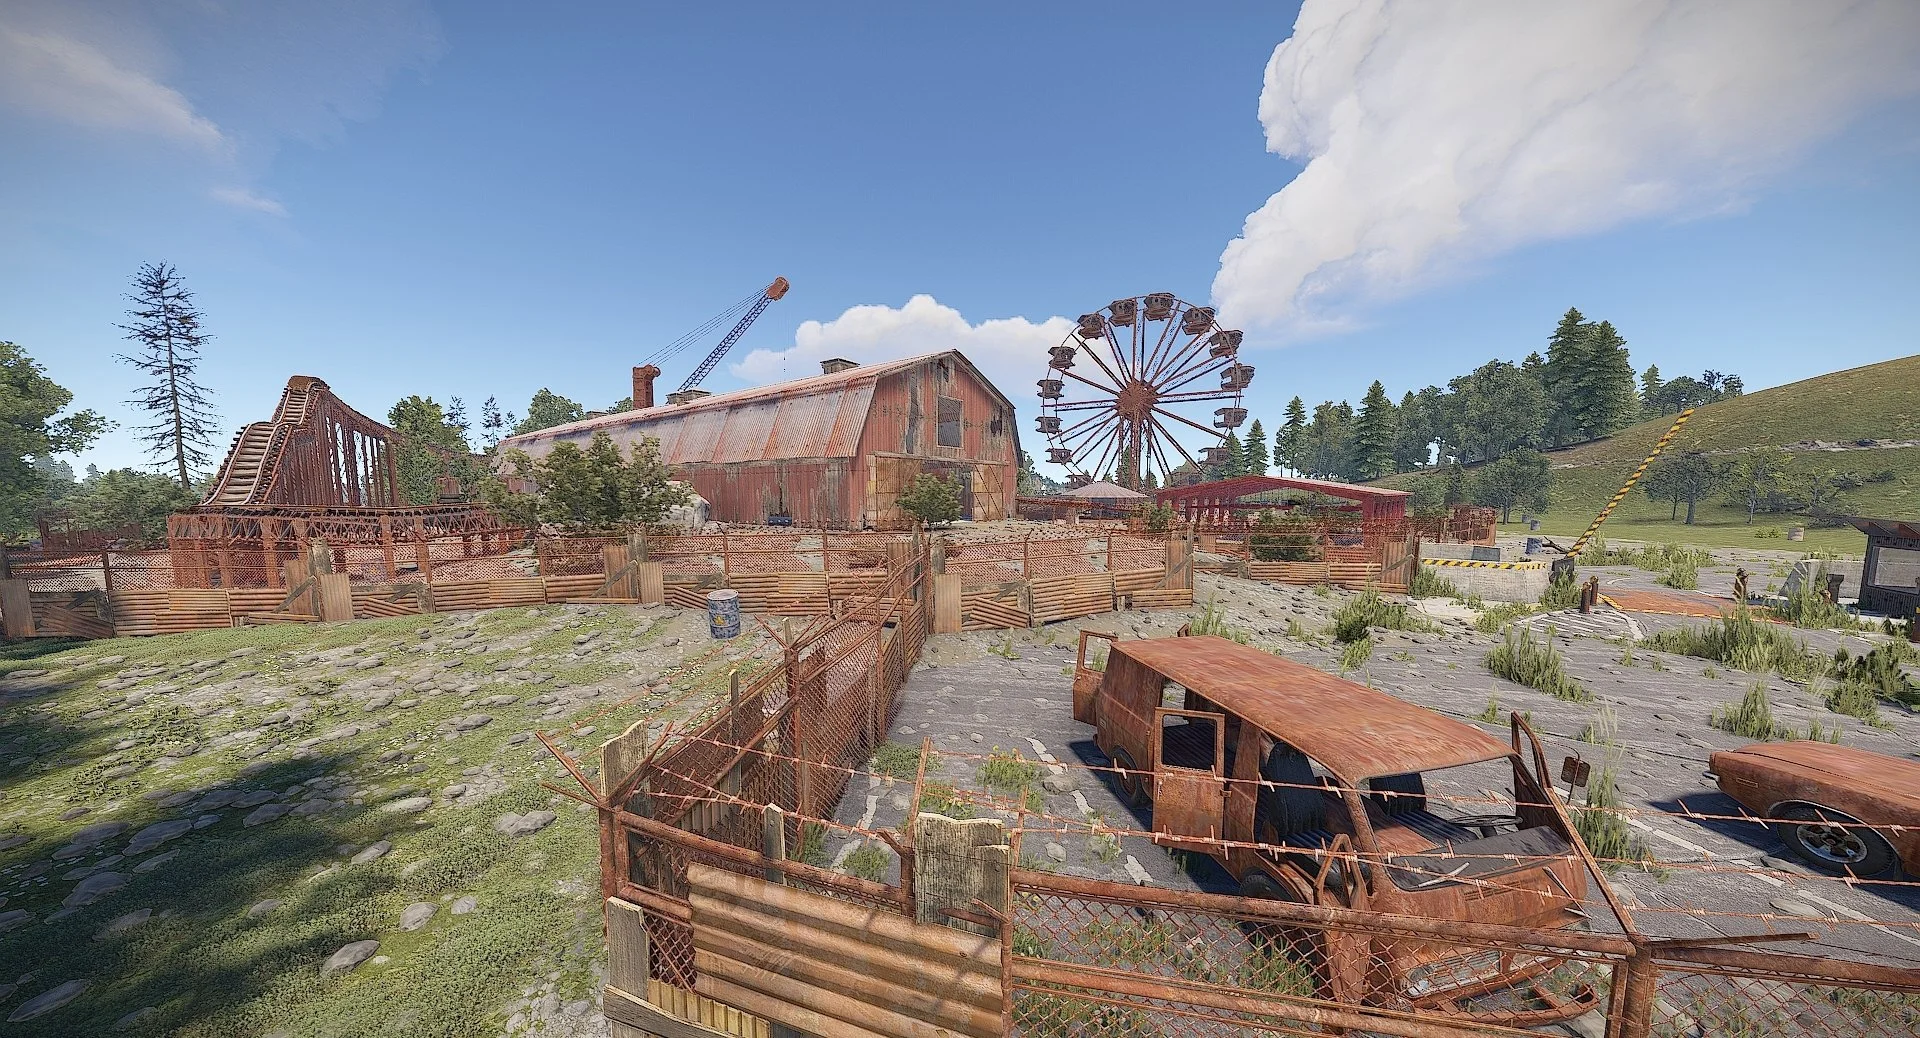
Abandoned Fairground
A derelict fairground filled with valuable loot and guarded by hostile NPCs. Explore the carousel and main building to complete the puzzle and claim your rewards.
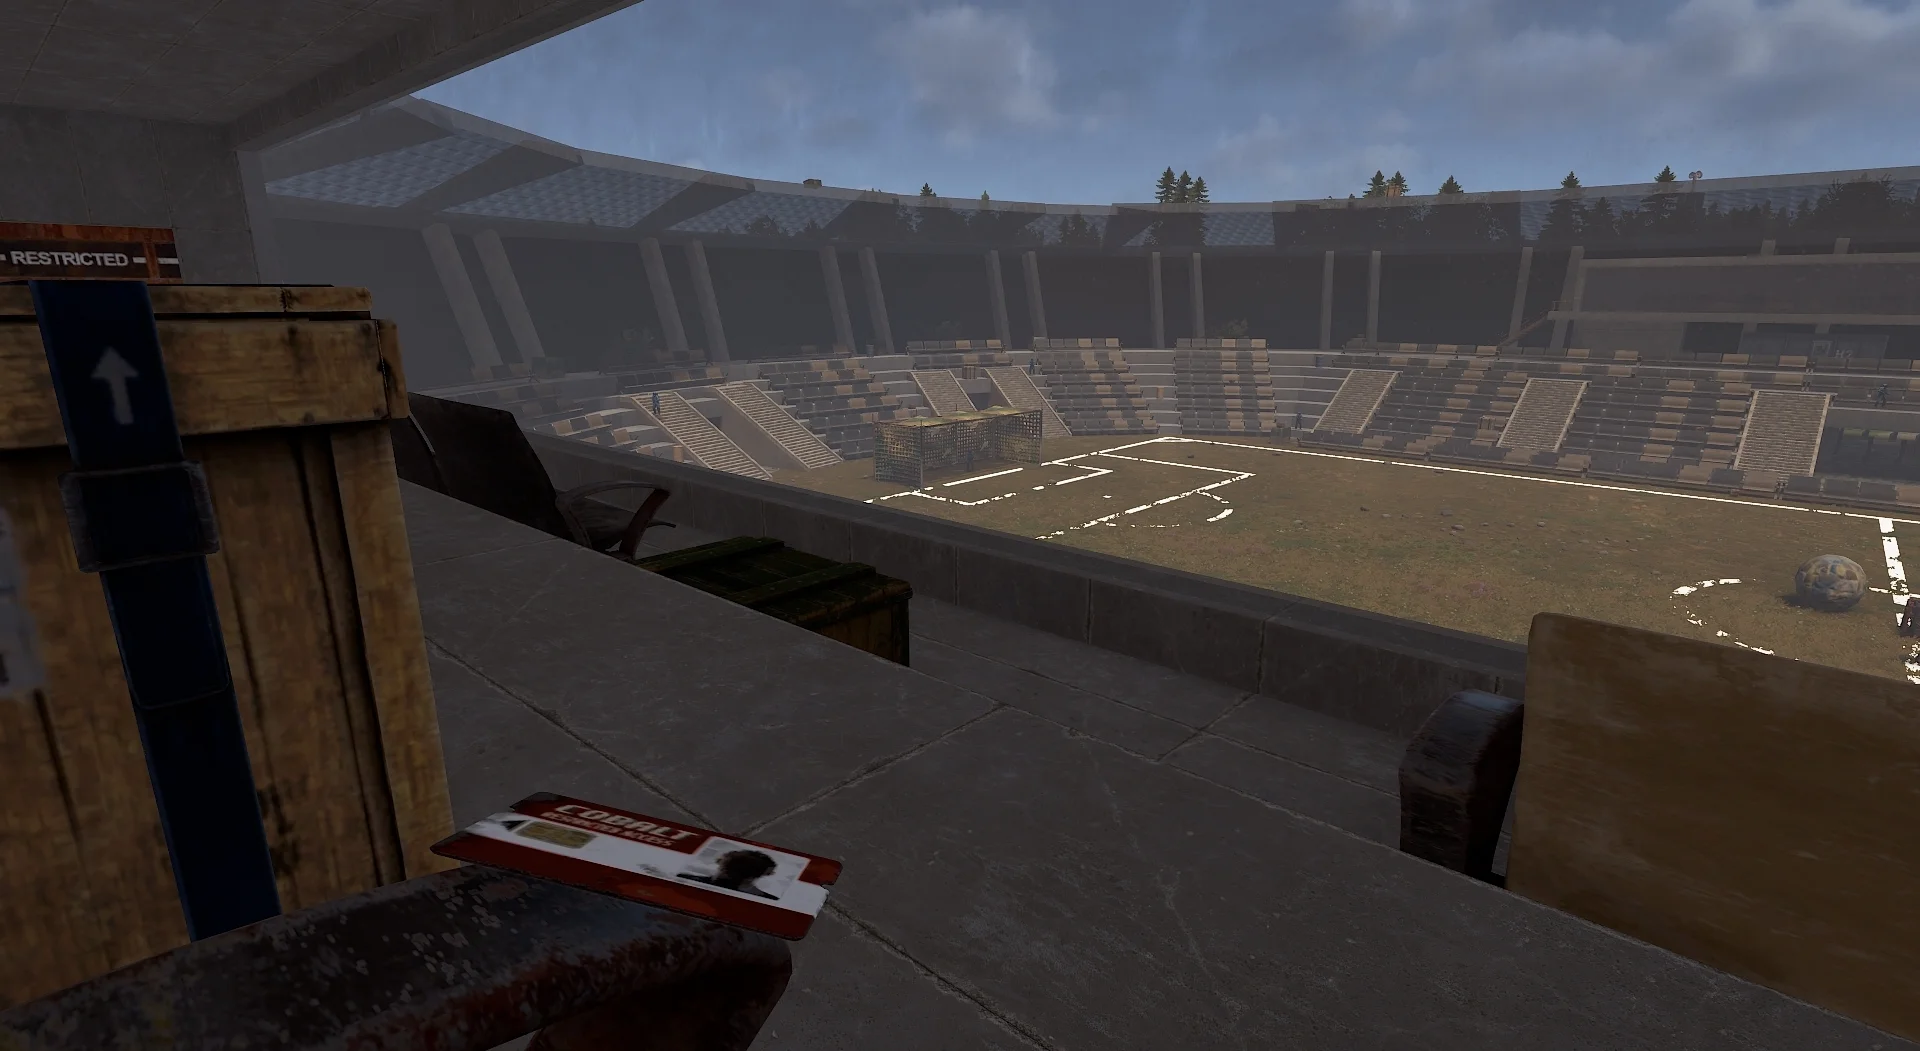
Blue card room
Walkthrough
- Fuse Box: Located inside the carousel
- Switch: Found in the main building, on the opposite side of the card reader